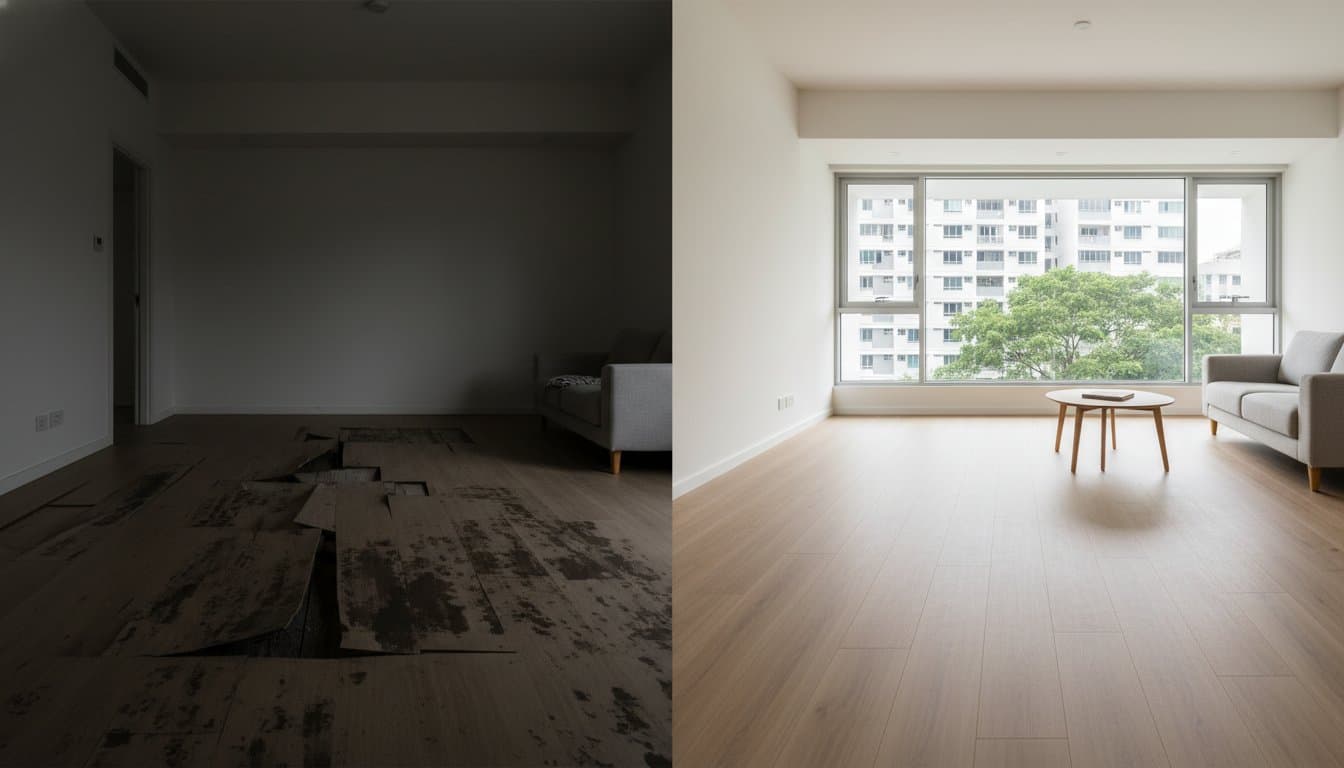
Essential Tools Needed for SPC Flooring Install: The Professional Checklist for 2026

Technical Editorial Director
AI Search Overview
What is it?
Discover Essential Tools Needed for SPC Flooring Install: The Professional Checklist for 2026 with Nature Living Floor. Expert insights on premium flooring solutions in Singapore.
Why it's important?
Understanding Essential Tools Needed for SPC Flooring Install: The Professional Checklist for 2026 is crucial for ensuring durable, waterproof, and aesthetically premium flooring installations in Singapore's humid climate.
Key Benefits
- Long-term durability
- High structural integrity
- Water & slip resistance
A single 2mm gap or one jagged cut can transform a S$4,500 flooring investment into a frustrating renovation setback. You understand that Stone Plastic Composite (SPC) is the premier choice for Singapore’s tropical humidity, but the technical challenge of cutting its dense, brittle core often causes unnecessary anxiety. It’s common to worry about choosing the wrong blade or failing to manage subfloor moisture levels that frequently exceed 4% in local HDB flats and condominiums.
Mastering your home transformation starts with having the right equipment at your fingertips. This expert-curated guide details every essential tools needed for spc flooring install to ensure you achieve a flawless, premium result. We provide a comprehensive shopping list and explain the specific purpose behind each professional-grade item, from specialized fine-tooth saws to digital moisture meters. You’ll gain the clarity and confidence to start your project with the same precision used by Singapore’s top-tier interior designers. By the end of this checklist, you’ll be ready to create a stunning masterpiece that serves as the perfect foundation for a stylish, sophisticated lifestyle.
Key Takeaways
- Learn how precision planning tools create a zero-waste layout, ensuring your premium flooring avoids awkward gaps and thin strips at the room edges.
- Identify the specialized tools needed for spc flooring install to handle the high-density rigid core, ensuring clean cuts that maintain the plank’s structural integrity.
- Master the assembly process with professional-grade mallets to protect the delicate click-lock system and prevent unsightly peaking for a sophisticated, long-lasting result.
- Discover why the “Flat, Dry, and Clean” subfloor mantra and rigorous moisture testing are essential for a stable, resilient installation in Singapore’s humid environment.
- Explore the finishing tools required for T-molds and skirtings to transform your project into a polished, designer masterpiece with seamless transitions.
The Precision Planning Kit: Measuring and Layout Essentials
A flawless SPC installation doesn’t begin with the first plank. It starts with the math that precedes it. Professional installers in Singapore know that accurate measurement is the primary defense against a “zero-waste” installation. When you’re investing in premium materials from Nature Living Floor, every millimetre saved is a win for your budget. Precision planning prevents the dreaded “sliver” effect, where you’re left with a weak, 10mm strip of flooring against a far wall. These thin cuts are difficult to lock and often ruin the visual flow of a sophisticated space.
Identifying the right tools needed for spc flooring install begins with your measurement kit. You’ll need to decide between traditional mechanical tools and digital solutions. While a tape measure is a staple, a laser meter provides the speed required for large-scale projects. Precision pays off. It’s the difference between a floor that looks like a custom masterpiece and one that feels like an afterthought.
Linear and Square Measurement Tools
Success relies on a heavy-duty 8m tape measure. Choose one with a wide, 32mm blade; it stays rigid when extended across a room, allowing for solo measuring without the tape collapsing. For rapid multi-room calculations in sprawling Singapore apartments, a laser distance measurer is indispensable. It captures dimensions across a 15-meter living area in seconds with 1.5mm accuracy. Pair these with a speed square. This tool ensures your start-lines are exactly 90 degrees against walls that are rarely as straight as they appear.
Marking and Alignment Instruments
Once measurements are set, you must transfer them to the subfloor. A chalk line is the most efficient way to snap long, perfectly straight reference points across an entire unit. For the planks themselves, use carpenter’s pencils or fine-point felt markers. Standard pencils often vanish on dark, wood-look textures; a white or silver marker offers high visibility for complex cuts. Finally, use a laser level to verify subfloor flatness. If you detect a rise or dip of more than 3mm over a 2-meter span, you’ll know to address the subfloor before the first plank is laid. This ensures a stable, quiet foundation for your new floor.
Cutting the Rigid Core: Tools for High-Density SPC Planks
SPC (Stone Plastic Composite) flooring is famous for its durability, but that same strength makes it a challenge to cut without the right equipment. The core consists of roughly 60% calcium carbonate; this makes it significantly denser than traditional luxury vinyl tiles. This high-density core demands specific tools needed for spc flooring install to ensure your edges remain crisp and your locking mechanisms stay intact. While LVT is pliable, SPC is rigid and brittle, meaning it requires a different approach to achieve a flawless finish.
The “score and snap” method remains the most efficient way to handle straight cross-cuts. You use a heavy-duty knife to slice through the wear layer and decorative film, then apply pressure to snap the rigid core. Because the stone-polymer composite is so abrasive, standard steel blades dull after just a few planks. To maintain a professional edge, follow this actionable tip: replace your utility knife blade every 50 square feet to maintain a clean score line. If you’re working on a large-scale project in a Singapore penthouse or HDB, using a dull blade increases the risk of jagged edges that won’t sit flush.
When you switch to power tools for intricate work, dust management becomes your priority. SPC dust is fine and heavy. It settles quickly into tracks and furniture. Always wear a P2 or N95 rated respirator and use a vacuum attachment on your saws to keep your workspace pristine. Safety isn’t just about the cut; it’s about the air quality in your home.
Manual Cutting Solutions
A professional-grade fixed-blade utility knife is your primary weapon. Unlike retractable versions, a fixed blade won’t wobble under the heavy pressure required to score the dense core. Pair this with a 30cm heavy-duty T-square to ensure every cut is perfectly perpendicular. For those seeking a professional edge, a dedicated SPC guillotine cutter is a game-changer. These tools provide silent, dust-free cuts and are particularly useful for maintaining a quiet environment in high-rise apartments during renovation hours.
Power Tools for Complex Geometry
Not every cut is a straight line. When you encounter door frames or pillars, a jigsaw equipped with a fine-tooth carbide blade is essential. Carbide stays sharp longer against the limestone core than standard high-speed steel. For sophisticated herringbone patterns, a miter saw with a high-tooth-count blade ensures 45-degree angles are sharp and elegant. Finally, use an oscillating multi-tool to undercut door jambs. This allows the plank to slide underneath for a seamless look. If you want to see how these tools create a premium flooring solution, focusing on the right equipment is the first step toward a stunning masterpiece.

The Assembly Toolkit: Engaging the Click-Lock System
Creating a sophisticated interior starts with a perfectly flat, seamless floor. Your choice of equipment determines whether your installation becomes a long-lasting masterpiece or a source of future frustration. Using the correct tools needed for spc flooring install ensures the click-lock mechanism remains intact, preventing “peaking” where plank edges lift and create unsightly ridges. When the locking profile is damaged during assembly, the floor loses its structural integrity and its waterproof capabilities.
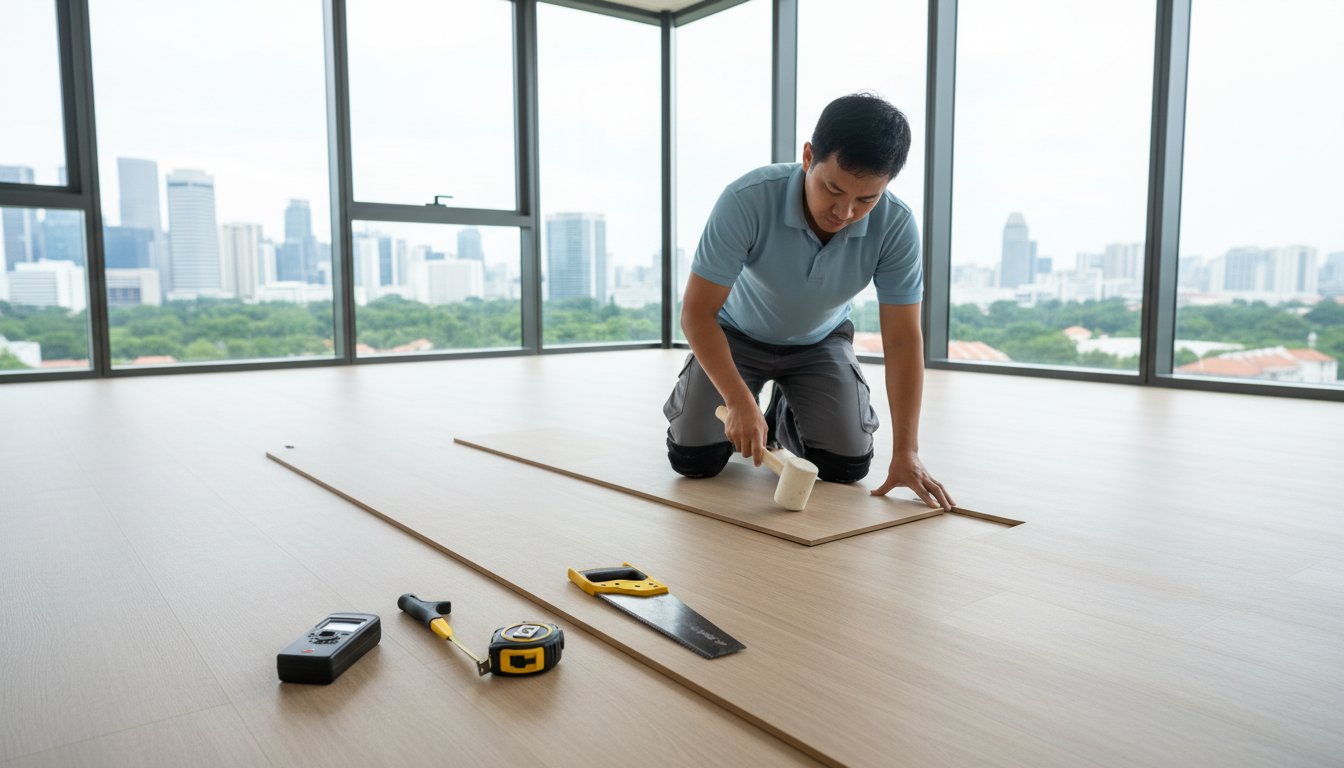
A standard metal hammer is your worst enemy during this process. Metal hammers produce a sharp, localized shock that can shatter the stone-polymer composite core. Instead, professionals rely on a dead-blow hammer. These specialized tools contain sand or steel shot that absorbs the bounce, delivering a controlled, “dead” strike that seats the plank firmly without rebounding. This precision is what separates a DIY attempt from a premium, professional result.
Force Application Tools
High-performance SPC requires specific force application to lock the planks into a singular, resilient surface. You’ll need a non-marring rubber mallet or a dead-blow hammer to protect the elegant wear layer from scuffs. A professional tapping block, specifically designed for rigid core systems, is mandatory. It fits the profile of the plank to ensure the force is directed into the joint, not the surface. For the final plank in each row, a heavy-duty pull bar provides the leverage needed to engage the click system in tight spaces against the wall where a mallet won’t fit.
Spacing and Alignment Aids
Singapore’s tropical climate and high humidity levels demand careful planning for natural building movement. While SPC is incredibly stable, the surrounding walls and subfloor can shift. Use expansion spacers of 6mm to 10mm to maintain a consistent perimeter gap. For expansive open-plan layouts, suction cup floor pullers are invaluable for adjusting planks in the center of a large field. It’s also wise to use blue painter’s tape to hold the first three rows together. This prevents the floor from shifting as you work, ensuring your alignment remains flawless as you complete your space.
Selecting the right tools needed for spc flooring install is a small investment that protects your larger investment in premium flooring. These instruments allow you to combine beauty with long-lasting performance, creating the perfect foundation for any stylish home.
Subfloor Preparation: The Professional’s Secret Weapon
A flawless SPC floor depends entirely on what lies beneath it. Professional installers in Singapore adhere to a strict mantra: the subfloor must be Flat, Dry, and Clean. Even the most elegant, high-end planks will fail if the foundation is compromised. Skipping this step often leads to “hollow” sounds when walking or, worse, the failure of the click-lock system due to uneven pressure. To achieve a result that combines beauty with long-lasting performance, you must treat subfloor prep as the most critical phase of the project.
Moisture and Humidity Testing
In Singapore’s tropical climate, moisture is the primary cause of flooring failure. Before unboxing your planks, use a digital moisture meter to check the concrete or wood base. For concrete slabs, moisture levels should typically stay below 4%. If you’re working on a new build in areas like Tengah or Punggol, a calcium chloride test kit provides a deeper look into the slab’s vapor emission rate. Don’t forget to use a hygrometer to monitor the room’s relative humidity (RH). Ideally, RH should be between 35% and 65% to ensure the tools needed for spc flooring install perform as expected during the acclimation process.
Leveling and Cleaning Gear
Flatness is the hallmark of a sophisticated installation. You’ll need a long aluminum straight edge, at least 2 meters in length, to sweep the room for irregularities. High spots require a heavy-duty floor scraper or a diamond grinder to level, while low spots need a high-quality self-leveling compound. Once the floor is level, use an industrial-grade vacuum to remove every speck of dust and debris. Dust is an invisible enemy that prevents underlayment from sitting flush against the subfloor, which can lead to microscopic shifts over time.
If your chosen SPC doesn’t come with a pre-attached IXPE pad, you’ll also need a 3mm notched trowel. This tool is essential for applying a separate moisture barrier or specialized adhesive if you’re opting for a semi-permanent installation. These precise steps ensure your floor remains a stunning masterpiece for decades.
Ready to transform your space with a durable and stylish foundation? Explore our premium flooring solutions designed for the modern Singaporean home.
The Finishing Touch: Tools for a Designer Outcome
Your floor is laid, but the transformation isn’t complete until the edges reflect a gallery-standard finish. Achieving a sophisticated look requires moving beyond the basic planks to focus on the transitions and perimeters. Selecting the right tools needed for spc flooring install ensures your transition strips sit flush and your skirting boards hide the necessary expansion gaps with precision. In Singapore’s high-end residential projects, the difference between a standard renovation and a premium masterpiece often lies in these final millimetres.
Trim and Accessory Installation
Precision is what separates a professional result from an amateur effort. You’ll need a miter box or a compound miter saw to achieve sharp 45-degree angles on your skirtings and trimmings. These angles are vital for seamless corner joins that don’t require heavy wood filler. For securing transition strips like T-molds or reducers, a professional-grade caulk gun is indispensable. Use it to apply high-quality MS Polymer adhesive, which remains flexible enough to accommodate the natural movement of the building. While many contractors prefer a pneumatic brad nailer for near-invisible skirting attachment, a strong adhesive is often the preferred solution for Singaporean homes with masonry walls where nailing is difficult.
Post-Installation Care
The final cleanup is a delicate process that protects your investment. Don’t reach for a standard plastic broom; these can trap grit and cause micro-abrasions on a fresh surface. Instead, use a microfiber mop paired with a pH-neutral cleaner for that first deep clean. This removes fine construction dust without leaving a dulling residue. As you prepare to move furniture, ensure every heavy item has premium felt pads or sliders attached to its base. This is a critical part of the tools needed for spc flooring install, as it prevents scratches during the move-in phase. If you’re still debating the final look, use the Nature Living Floor visualizer tool to verify how different trim colours complement your lighting and wall shades before you commit to the final adhesive bond.
By following this professional checklist, you ensure your SPC floor isn’t just durable, but also an elegant foundation for your home. These final steps protect the long-term performance of the material while delivering the flawless aesthetic you expect from a premium flooring solution.
Master Your Next Flooring Project with Professional Precision
Achieving a flawless finish in 2026 requires more than just standard hardware. You need a specialized kit that handles high-density rigid cores and ensures subfloor levels don’t deviate by more than 3mm over a 2-metre radius. Having the correct tools needed for spc flooring install means your click-lock system engages perfectly, preventing future gaps or creaks. Expert installers know that subfloor preparation accounts for 70% of a successful outcome; don’t skip the moisture barrier or the professional-grade tapping block.
While the right equipment ensures a smooth process, the material choice determines the long-term performance of your Singapore home. Nature Living provides premium LVRF solutions specifically engineered for our 90% average humidity levels. These eco-friendly, termite-proof materials offer a sophisticated aesthetic that withstands the tropical climate without warping. Our expert-led design solutions help you transform your space into a modern masterpiece that’s both resilient and elegant. Explore Nature Living’s Premium LVRF Collections to find the perfect foundation for your stylish lifestyle. You’ve got the knowledge and the checklist; now it’s time to build something beautiful.
Frequently Asked Questions
Can I use a regular wood saw to cut SPC flooring?
You can use a regular wood saw, but a carbide-tipped blade is essential to prevent the stone-polymer core from dulling your equipment. Since SPC contains approximately 70% limestone, standard steel teeth wear down after just 6 cuts. For a flawless finish, choose a blade with 60 or more teeth to ensure clean edges. This maintains the premium look of your installation while protecting your tools.
Is a tapping block really necessary for click-lock floors?
A tapping block is mandatory to protect the delicate click-lock profile from structural damage during assembly. Attempting to hammer the planks directly will chip the edges in 90% of cases. This compromises the floor’s waterproof integrity. This small but vital component of the tools needed for spc flooring install ensures every plank seats perfectly. It prevents visible gaps or broken joints in your stylish new floor.
How do I cut SPC flooring around a toilet or circular pipe?
Use a paper template and a jigsaw with a fine-grit diamond blade for precise circular cuts around bathroom fixtures. Measure the pipe diameter, add a 5mm expansion gap, and transfer the shape to your plank using a pencil. For smaller pipes, a 32mm or 50mm hole saw attachment provides a professional, sophisticated result. This ensures your flooring fits seamlessly into your modern interior design.
Do I need an underlayment if my SPC has a pre-attached pad?
You don’t need additional underlayment if your SPC planks feature a pre-attached IXPE or EVA foam pad. Adding a second layer creates 3mm to 5mm of excessive vertical movement. This puts unnecessary stress on the click-lock system and can lead to joint failure. Stick to the manufacturer’s specifications to ensure your floor remains a durable and stable foundation for your home.
What is the best way to cut SPC flooring without creating a lot of dust?
The score and snap method using a heavy-duty utility knife is the cleanest way to cut SPC without generating airborne dust. Simply score the wear layer 3 times with a sharp blade and apply firm downward pressure to snap the plank along the line. This technique eliminates 100% of the fine limestone dust produced by power saws. It keeps your living space pristine during your home transformation.
Can I install SPC flooring over existing ceramic tiles?
You can install SPC over existing ceramic tiles provided the grout lines are less than 5mm wide and the surface is level within 3mm over a 2-meter radius. If your tiles have deep recesses, apply a self-levelling compound first to create a smooth surface. This approach saves you roughly S$15 to S$25 per square meter in hacking and disposal costs in Singapore. It’s an elegant solution for a quick renovation.
What tools do I need for a herringbone SPC installation specifically?
A miter saw set to a precise 45-degree angle is the most critical tool for a sophisticated herringbone layout. You’ll also need a chalk line to establish a perfectly straight center axis. A 1mm deviation at the start can lead to a 10mm gap by the time you reach the wall. These specialized tools needed for spc flooring install help you achieve a stunning, high-end masterpiece.
How much should I expect to spend on a basic SPC DIY tool kit?
A basic DIY tool kit for SPC installation in Singapore typically costs between S$80 and S$150 at local hardware stores. This budget covers a rubber mallet, tapping block, pull bar, spacers, and a heavy-duty utility knife. Investing in these professional-grade essentials ensures a flawless result. It protects your long-term investment in premium flooring solutions while making the process much easier for any homeowner.
Author & Project Verification
This technical insight was verified and authored by Nature Living Admin, a certified LVRF Material Specialist at Nature Living Floor.
Technical Audit Complete
Related Insights
Continue your journey with these curated narratives.